Thursday, February 21, 2013

Memories of Hawaii

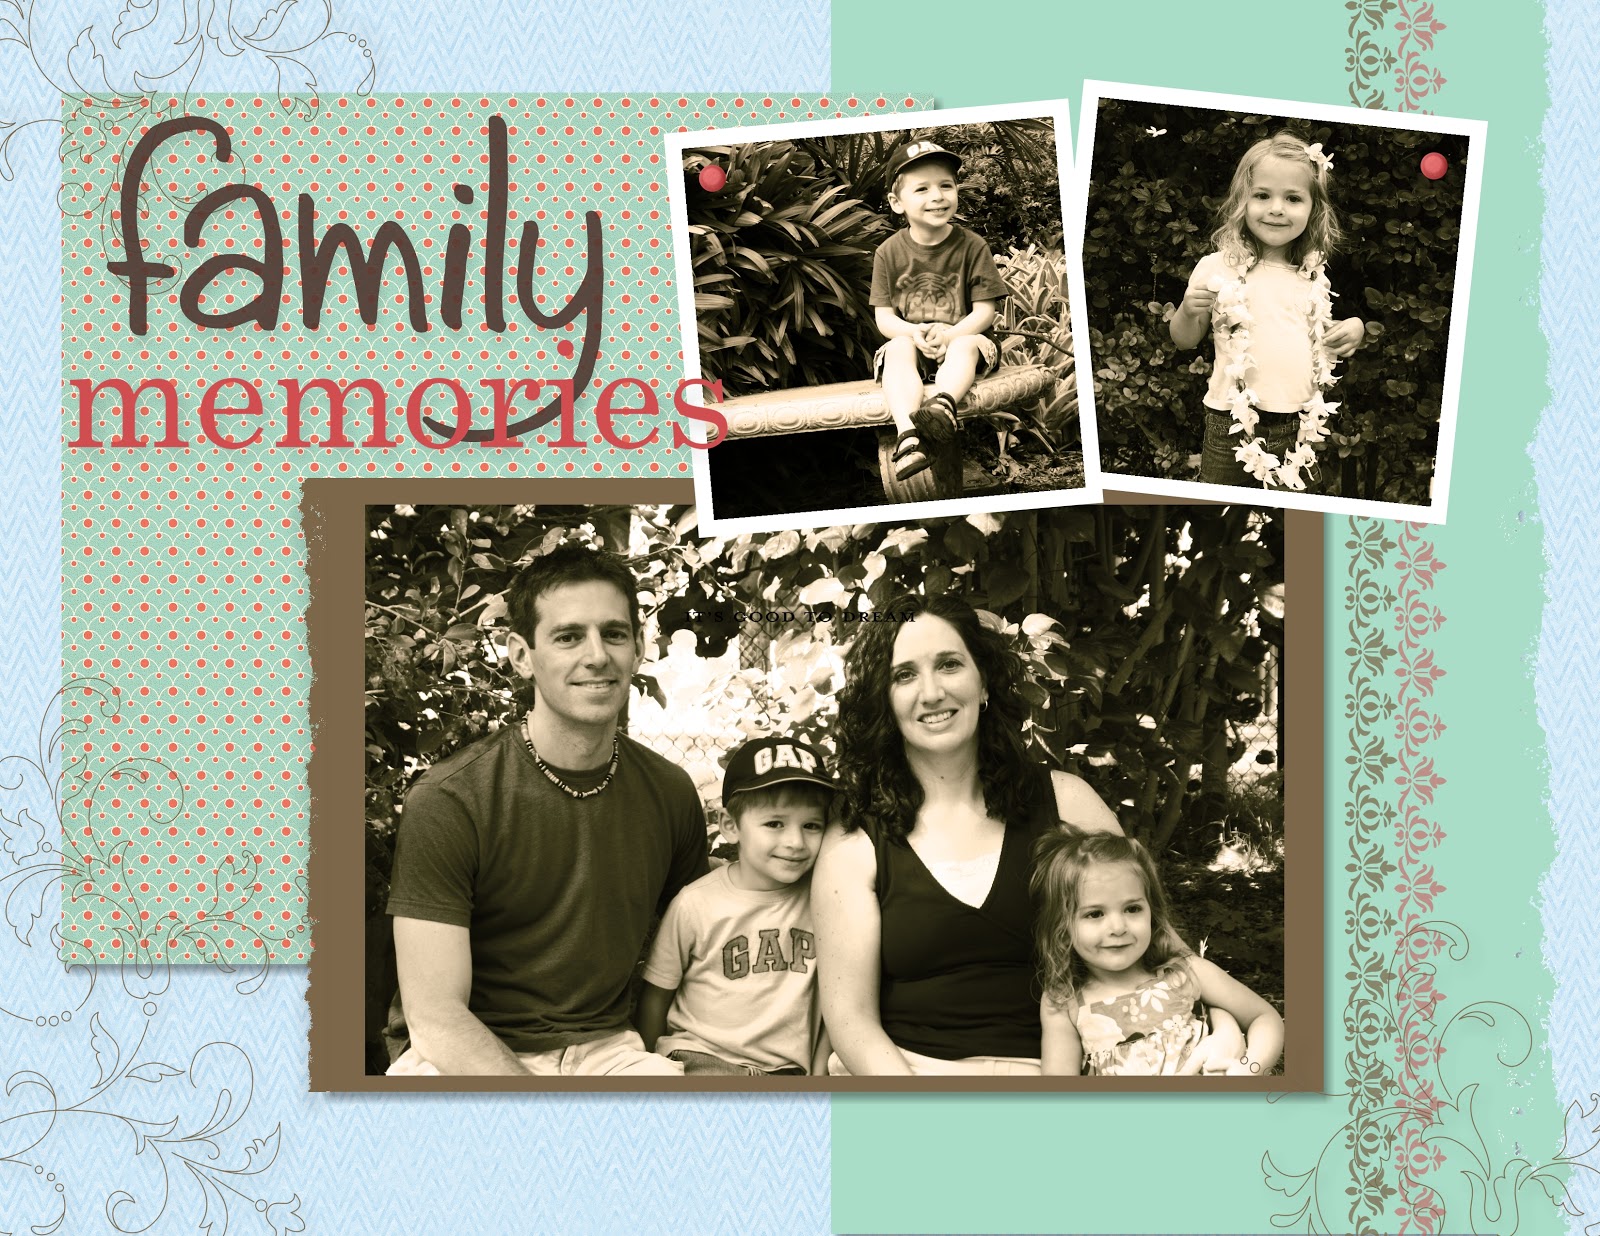
Last January, we took our first big family vacation to beautiful Hawaii.  We spent 5 days in Honolulu and the remainder of our two weeks in Kihei, Maui.  It was amazing and we can't wait to go back!  My newest MDS calendar page has some family pictures taken while we were on vacation.
 
 
These pictures were easy to change to a soft suede tone so they blended together well and is a softer look than Sepia.  I love using MDS to add these kinds of effects! 
 
If you haven't yet tried MDS2, I highly recommend it!  It is very user friendly (which is great for people like me who are not very tech savvy!).  You can still download a free trial at my website here.
 
What are you waiting for?


Wednesday, February 20, 2013

Fabulous Shoe


A quick and simple card today!  I love this set called "Fabulous Shoe".  It is so girly!  It is perfect for a girlfriend and the shoe is so intricate.  I simply stamped it and the sentiment in basic grey, added some summer starfruit paper and designer paper (punched with the Scallop Trim punch), a silver metallic brad, and finally a bow with the Summer Starfruit satin stitched ribbon.

It is a quick card for a birthday or just because! 

Enjoy!


Tuesday, February 19, 2013

Vintage Butterflies Notecards

Tonight I am holding a Vintage Butterflies class using many of our Stampin' Up! products.  I saw a beautiful card back in the summer while I was on a tour of the Riverton Home Office for Stampin' Up!.  Here is my version of the card:


I don't do a lot of this style but I loved it so much I had to recreate it.  This spawned the idea to do an entire notecards class.  So tonight we are all doing 10 vintage styled cards incorporating Flower Trim, Baja Breeze Seam binding, lace trim ribbon, lots of butterflies, basic pearls, and many stamp sets.  Here are the cards we are creating:


I had fun stepping outside of my comfort zone and creating these cards!  Enjoy!


Monday, February 18, 2013

Northern Lights

Today I would like to share a card using my favorite new technique called "Northern Lights".  I taught this at my technique class this month.  I saw this technique a few months ago on the demonstrator forum called "Stampin' Connection" and was created by the talented Melissa Banbury.  Thanks Melissa for sharing this Gorgeous technique!


It is a sponging technique where you blend lots of bright colors followed by adding navy and black for depth.  These colors make the bright ones pop, resembling the dancing Northern Lights.  I embossed the tree (from the Forever Young set) with black embossing powder to really give it some life against the dark background.  I am really happy with how it stands out.  The  last touch in the sky was to use my white gel pen to add tiny dots for stars.  I added some perfect plum for a mat to bring out the colors in the sky and added that to a black card base.  Final touches we some grey taffeta ribbon and a ribbon slide.

This is my new favorite technique.  It a fairly simple one with a lot of WOW factor.  It takes a bit of time but is definitely worth it!

Hope you enjoy it!

Monday, February 11, 2013

Madison Avenue meets Sycamore Street

Have you tried out your Sale-a-bration freebies yet?  Today I am sharing a card I made using freebies that I have from this great promotion!


I stamped with the Madison Avenue stamp set and added some punched pennants from the Sycamore Street Designer paper to create the focal point of the card.  Last I added a button with a ribbon knot which are both also from the Sale-a-bration flyer.


If you haven't taken advantage of this great promotion yet you can shop online here.  For every $60 you spend, you can choose a free item from the sale-a-bration flyer.  Happy shopping!

Sunday, February 10, 2013

Pop Top Fun


I remember collecting bottle caps as a kid from different drinks, especially when we camped.  My brother, sister and I had quite an interesting collection!  I don't know what ever became of our treasures and forgot all about it until recently when I discovered the new Soda Pop Tops (#129388) in the Spring catalogue.  They are so much fun to work with!  They come with 16 in a package (8 large, 8 small) for only $4.95!


For this card I chose to flatten my bottle cap by running it through my Big Shot Machine between the 2 cutting plates.  Then I stamped my images from the Collage Curios Stamp set (#129102).  I covered my image with versamark and heat embossed it with clear embossing powder.  I did this step so the colors didn't bleed when I used the Crystal Effects further on.  After embossing, I punched out my image with the 1" circle punch and glued it into the pop top with mono mulitpurpose adhesive.  Once it set a bit, I filled the pop top with crystal effects and let it dry overnight.  It dries fairly clear and my image remains crisp as it was heat embossed (it would also work without if you wanted a softer look). 


I stamped the card with the En Francais stamps and added some butterflies from the same Collage Curios set.  Another fun addition is the border of ribbon which is the new Natural 7/6" Trim.  It has a burlap type look which is very trendy in the paper crafting world right now.  The pop top was easy to add with 2 dimensionals to complete the card.


I hope you will try these pop tops!  They are really fun and add a unique touch to any project!

Thanks for stopping by!


Saturday, February 9, 2013

Gorgeous Swallowtail

 
I am IN LOVE!!  I adore this new Swallowtail stamp from the Spring Catalogue!!  It is simple to stamp that single image but it adds oh so much WOW factor to your card.  There are so many possibilities of color combinations to color him that the hardest part is choosing one!  I googled "swallowtail pictures" the other day and a wide array of stunning butterflies came up.  I can't wait to experiment some more! 


This is the first combo I went with-Pacific Point and Tempting Turquoise.  I stamped the image with versamark ink (on glossy cardstock) and heat embossed it using black embossing powder.  I used my aqua painter pens to add the colors.  I layered more color on the areas I wanted to be darker.  I let it dry and punched and layered some shapes for the sentiment along with a couple of rhinestones.  I was really happy with the finished result on an easy card to create. 

I shared this card with my downline at my team meeting and it became our make'n'take for the night.  I hope you like it as much as we did!

Thanks for stopping by!