Tuesday, January 28, 2014

Texture Boutique and a New Card Kit


Not only is it the first day of Sale-a-Bration,  there are a few additional announcements!  Here's what else is new today:


Make an impression with our new Texture Boutique embossing machine!  This lightweight Sizzix Texture Boutique embossing machine works with the embossing folders to transform ordinary cardstock, paper, metallic foil or vellum into a textured masterpiece.  Priced at only $36.95 - this makes a great addition to your crafting tools.  And if you add on 3 embossing folders - you can choose a Sale-a-Bration item FREE! Check out this video that shows you just how easy it is to use!

Texture Boutique Embossing Machine - 132657 - $36.95


v

 This machine is very affordable-especially if you aren't ready to take the plunge to buy the Big Shot just yet!  At only $36.95, you can make fabulous embossed projects!


We also have a fabulous new card making kit!  Why get your cards at the store when you could have 20 cards at your fingertips!  They're thoughtful, they're beautiful, they're handmade and they take just minutes to make!

Hip Hip Hooray Card Kit includes:

  • Cardstock for 20 cards (cut and scored)
  • Clear stamp block and dimensionals
  • Twine and clips
  • Basic Gray stampin' spot (mini ink pad)
  • Envelopes for 20 cards
  • Three piece Hip Hip Hooray stamp set
  • Adhesive die cut embellishments
  • Full color instructional brochure
Hip Hip Hooray Card Kit - 134998 - $24.95

Check out the second page of our flyer to see 20 different options for the kit!  Such cute cards and so affordable at only $24.95!

Thanks for stopping by!

Time to Sale-a-Brate!

It is that time of year again!  

SALE-A-BRATION is here!!

For every $60 you spend on Stampin' Up! product, you can choose a FREE exclusive Sale-a-bration item from our flyer!  Don't we all love freebies?  This years' items are AMAZING!! 

Here is a card I made for a swap that uses the fun new Banner Blast stamp set and coordinating  Banner Punch-both are FREE from the Sale-a-bration flyer! 


How else can you join in the with the fun of Sale-a-bration?

There are so many ways for your to get involved from shopping, hosting a private party or joining Stampin' Up!  Here's a quick look at what it's all about...
 Purchase product from the regular or Occasions catalogues totaling $60 (before shipping & GST) and you can choose a product from the SAB Flyer for FREE (no limits - pick an item for every $60 you spend!).  With stamp sets, accessories, paper, downloads and embellishments - there's something for everyone!
 Book a private party or class with me (between Jan. 28th and March 31st) and you have the opportunity of earning $40 more hostess dollars with a qualifying party! Cards will be exclusive to the Private Party and will not be made in my regular classes!
And the best option yet is if you join the Stampin' Up! family - you get to choose $190 of product for just $125 (no shipping or GST!).  Now is the perfect time to join!   Join for the discount and demonstrator perks or start a business!  There are so many ways to be a demonstrator with Stampin' Up!   New members across Canada are welcome!  To find out more or join today, click here.

If you haven't yet seen our Sale-A-Bration flyer you can check it out here..  If you would like a hard copy to flip through and don't already have a demonstrator, please send me an email and I'd be happy to send one in the mail to you.
Thanks for stopping by!


Thursday, January 23, 2014

Starburst Sayings Scrapbook Layout


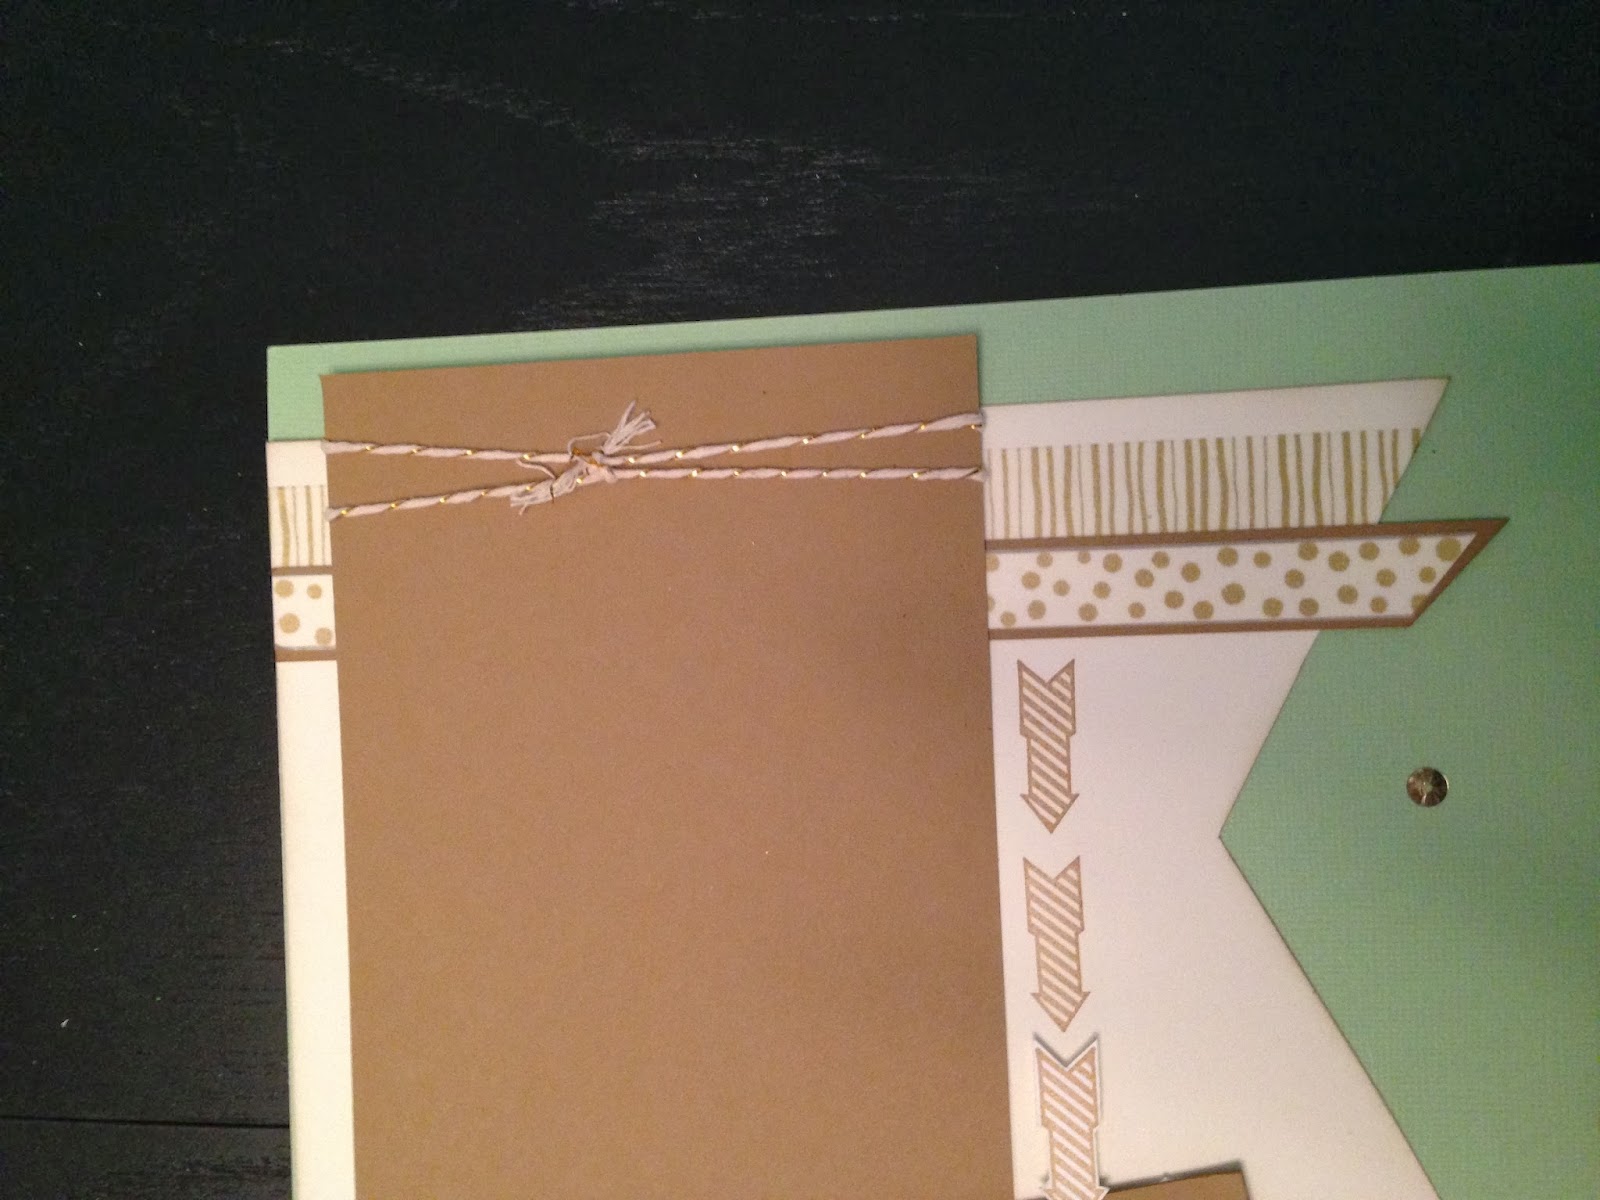
Today I have another scrapbook layout to share with you.  I choose the color scheme of gold, vanilla, and soft suede on pistachio pudding.  It is a very vintage color combination but I gave it a modern twist with the stamps I used.  

I used some of the fun new products from the occasions catalogue.  The sentiment is from the new Starburst Sayings stamp set and is cut out with the coordinating Starburst framelits.  If you buy those together as a bundle, you save 15% !!   


I also used the gorgeous gold polkadot vellum, the gold baker's twine, watercolor wonder washi tape (one of my new FAVORITES!) and scattered a few gold sequins.


To create a more vintage looking button, I used our Very Vintage buttons and pressed it with versamark ink.  I added gold embossing powder and heat set it. 


Thanks for stopping by today!


Wednesday, January 22, 2014

Just Believe...

Hello 2014!

Of course at the start of a new year, many of us are thinking of resolutions, trying new things, and improving our lives.  I don't always make resolutions but I did make a few this year.  My first resolution is to do 100 scrapbook pages this year!  Now this task may seem daunting but I am up for the challenge!  I did quite a few My Digital Studio pages early in January and have a few traditional pages that just need pictures and journaling.  I have created some of these for my monthly scrapbook club.


This page was a layout we did in my December scrapbook club.  I love the shine and sparkle on this page!  I used lots of gold which is really trending right now.

Here are some close ups of the details:
I LOVE this star!  It is a single stamp from the holiday collection (Christmas Star #134813) and is available until Jan. 31, 2014.  I heat embossed it with gold powder and then folded it on all of the lines.  This gave it a 3D effect.  I layered 3 dimensionals under the center so it will stay that way in my scrapbook.

The title was created by die cutting the letters in both brushed gold cardstock and coaster board.  I offset them when I adhered them together to give the letters a shiny shadow.  

The mats are the brushed gold cardstock and I added pops of Champagne Glimmer paper throughout the page.

The polkadots are done with the Gold Encore ink pad and the stencil from the banner kit in the holiday catalogue.

This was a fun layout to create and I can't wait to get my pictures on it!  That will make another page done towards my goal!  What goals and resolutions did you make this year?  Are any scrap pages part of yours?

Thanks for stopping by!  Come back this week for some more scrapping ideas!


Wednesday, December 4, 2013

Snapshots Scrapbook Page


Today I wanted to share a scrapbook page I created for my club members.  This double page features the I Am Me designer series paper.
 
 
  I really love the color combination in this paper and it probably is one I would have come up with on my own.  The second page of this layout is my take on one from this year's annual catalogue.  I was happy with the fact that this could be used for so many different pictures!  This layout would also be fun with Instagram photos.
 
I also played a little with negative space on this layout.  I used the chevron border punch on the left page and then layered colored strips behind it so the color is recessed into the page.  I used chevrons punched out to do the reverse effect and had them raised on the right page.
 
Thanks for stopping by!
 

Monday, December 2, 2013

Monochromatic Christmas


Happy Monday and welcome to December! 
 
Today I wanted to share a couple of monochromatic cards that I created for classes and swaps this past month.  I LOVE the crispness of white and silver together.  I CASED this card from a similar card I found on Pinterest (I am not sure of the original creator).    It features the "Joyful Christmas" stamp set. 
 
The poinsettia is stamped on vellum (with versamark ink) and heat embossed with silver.  It also uses the beautiful frosted finishes embellishment for some extra sparkle.  I am going to create some more of these cards as well as a scrap page featuring this ideas as well.
 
My next project is a tag I created for a swap that I participate in with some fellow Canadian demonstrators.  I created the Christmas tree with Paper Lace Doilies. 
 
I added some sparkle with Dazzling Diamonds glitter (at this point in the Christmas season I think this stuff is just in the air in my house!  I can be sparkly without even crafting!)  The greeting is heat embossed with silver and I added a bit more sparkle with a punched star out of our silver glimmer paper.
 
 
I also embossed a little verse on the other side of the tag.  The finishing touch was the white organza ribbon.  I love the sheen of this ribbon with this tag. 
 
Thanks for stopping by today!

Sunday, December 1, 2013

Festive Flurries Scrapbooking


 Well here on the Canadian prairies, Mother Nature has already brought the cold temperatures and we have had a few dumps of snow!  I am sure it will be a White Christmas this year!  I have some snow pictures (that I still need to print-please tell me I am not the only one who is horrible at getting digital pics printed!) that I can't wait to scrap! 
 
 
I created this page for my November scrap club and I can't wait to get some black and white photos on them!  I used the Festive Flurries snowflakes as well as the Endless Wishes polymer set to stamp and emboss snowflakes around this page.  I added some rhinestones as well as the brad bases (for the candy dots) and added a larger rhinestone into it to hold the layered snowflakes together.  I used the Hearts a Flutter framelits for the "joy" words (that were stamped with the Noteable alphabet set).
 
 
The paper I used was the Smoky Slate textured cardstock and the designer paper is the Winter Frost Paper stack.   I added some frosted finishes embellishments for a little extra sparkle too.  They are just stunning! 
 
 
Thanks for stopping by today!